


From within WordPress, do a new plugin search for the Add Link to Facebook plugin. Click to install it, and then click to activate it (from your plugins panel). These instructions are for independently hosted WordPress installations. If your blog is hosted on WordPress.com you may need other configuration instructions.
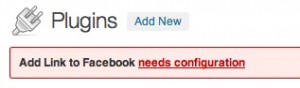
1 Configure the plug-in by clicking on the link “needs configuration”
2 Click on the link “Click here to create and navigate to ‘Apps’ and then to ‘Create New App’![]()
3 You’ll be taken out of WordPress to the Facebook Developer’s Home Page
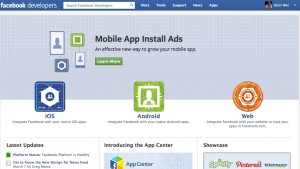
4 Click on the tab for Apps in the menu bar at the top of the page

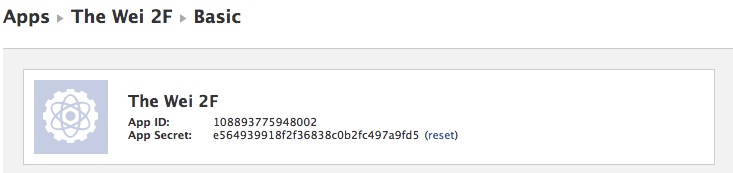
5 In the next screen, you’ll find your configuration details.

There are two items you need to pay attention to here:
A The App ID & Secret Key, which you need to copy and paste into the WordPress Plugin shown in Item 1
B The first integration choice “Website with Facebook login” on the bottom half of the screen. Click on that link.

The link opens up to give you a text box. Enter the Website>Site URL shown in red (see Item 1). Then click the Save button on the bottom of the page.

6 Now that you have your information entered, save your changes on the WordPress plugin setup page too.

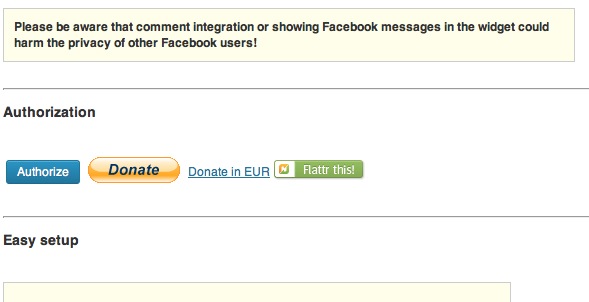
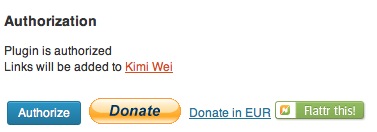
7 Pay attention now, because after you save, you need to authorize the new app you’ve created to interact with Facebook. The option to authorize pops up on top of the setup/configuration area (of the plugin) that you’ve been working in
If you have trouble during the authorization process, don’t panic. Just follow the instructions in the error message at the top of the WordPress plugin setup page. When you’ve completed all the steps correctly, you’ll see a success message, and you’re basically done.
Other options
There are Additional Settings at the bottom of the page which require a fair amount of expert knowledge to configure – so they’re beyond the scope of this basic tutorial – but feel free to experiment as much as you like.
When you publish
Now, you will see that custom options have been added for your convenience to the “Publish” section of your WordPress (New Post) Dashboard. Use them if you want to choose different options than then those options which are driven by your default configuration.
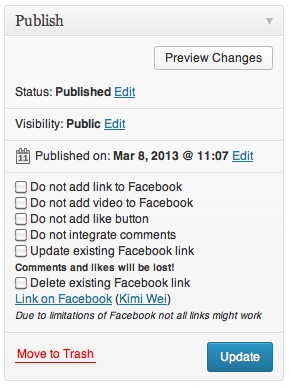
After you publish
After your post is published, you’ll get a couple of more options in the “Publish” section. If you update the look of your link, you might consider ticking the option “Update existing Facebook link” – but use with caution because your existing post’s comments and likes will be lost. The plugin’s creator Marcel Bokhurst explains, “The reason is Facebook doesn’t support updates, so an update is realized by a delete, followed by an add.”

That’s all for now. Happy linking!
i followed the same procedure but its not working
please check http://rtilive.pk
Saad, I took a look at your page but can’t see how the interface is working for you.